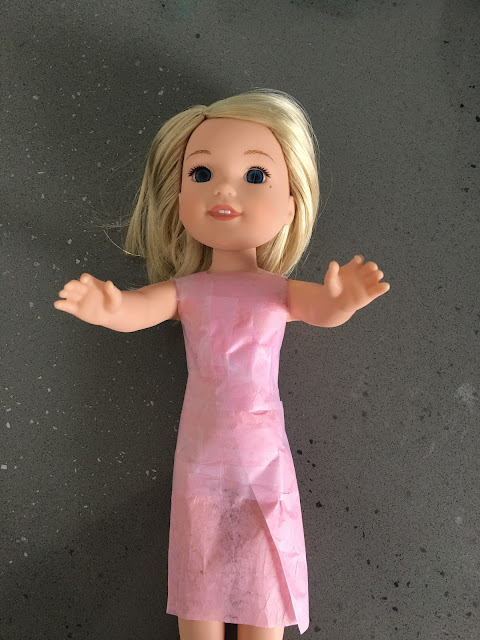
Step 1
Wrap your doll with tissue paper and lots of tape.
Using a permanent fine tip marker, mark center front, center back, sides, waist and shoulders.
Step 3
Carefully remove the tape wrapped tissue paper by cutting up the center back. Tape the patterns onto a piece of paper.
Step 4
Add seam allowances (1/8th). Tape a paper sloper together, make adjustments.
Then cut the pattern out of fabric and sew together.
Now the sloper pattern is ready to manipulate into different clothing.
A great way to sew a 1/8" seam is move your needle.
If you would like to download the sloper that I made for the Wellie Wisher doll, click the picture below, click on the right mouse button and select "open image in new tab". Click on print in the menu bar or on the 3 horizontal dots on the upper right side of your internet page. Enlarge or shrink your printed copy so the 1" square is a 1" square. The best way I know how to do this is to divide 100 by the actual size of your printed 1" square. You will get the percentage of enlargement or shrinkage as your answer. For example: 100 divided by 1/2"(supposed 1" square example) the answer is 200. So enlarge your picture by 200%. Let's say your 1" square printed out at 1-1/4". Divide 100 by 1.25 and the answer would be 80. Or shrink the picture by 80%.


You are super amazing!!!
ReplyDeleteLove these dolls but I love you more. Thanks for sharing.
Mel Hopes
Hello,is the actual seam allowance on your sloper pattern 1/4th or 1/8th? I got confused when you were talking about your needle positions. This is a great pattern piece to work with.
ReplyDeleteSeam Allowances are 1/8th. Hopefully my corrections are more clear.
DeleteEasier way of finding enlargement is print one the page with the one inch square. Measure the square, i.e. if the square is 13/16 of an inch divide 16 by 13, answer 1.23 and then increase the size of your printout by 23% or a factor of 1.23.
ReplyDelete